
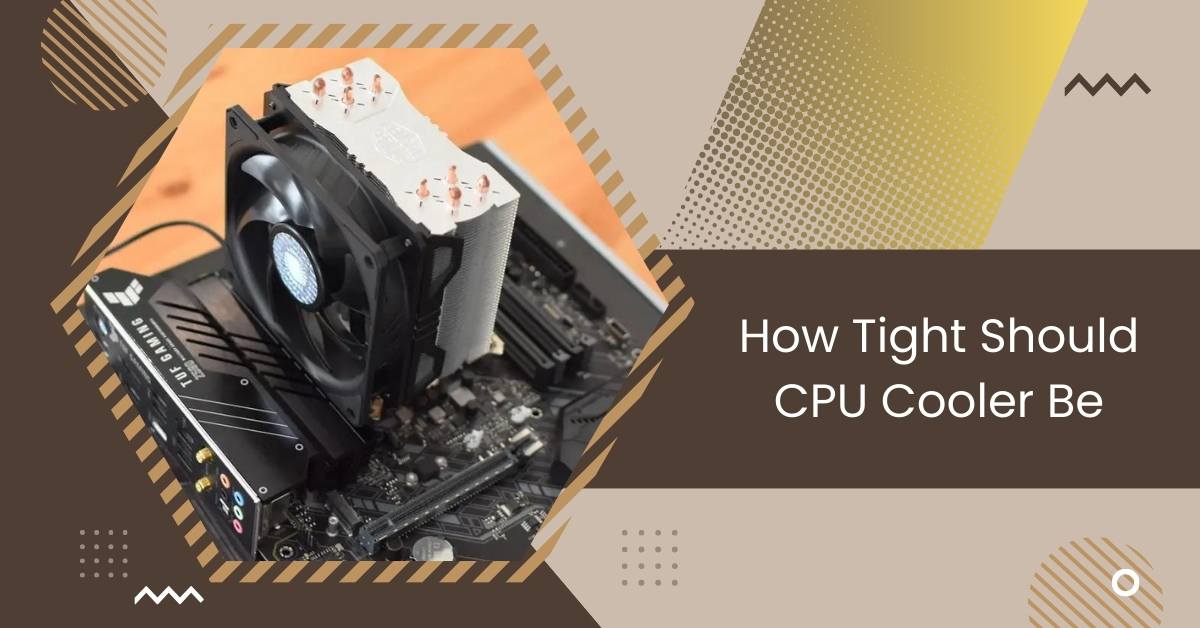
In the realm of PC building and customization, the efficiency of your CPU cooler is paramount for optimal performance.
To ensure the right tightness for your CPU cooler, snug the screws a quarter turn at a time until they stop. Avoid overtightening to prevent CPU damage. After hand tightening, use a tool, give a quarter turn, and ensure all screws are equally tight for a perfect fit.
This article delves into the CPU Cooler Tightness, Factors, Potential Issues, Installing Steps, and the impacts on CPU Performance.
What is CPU Cooler Tightness?
CPU cooler tightness refers to the optimal level of fastening when installing a CPU cooler onto the processor. It’s crucial to achieve the right balance in tightening to ensure efficient heat dissipation without causing damage to components.
Understanding the Importance of Properly Tightening a CPU Cooler

Properly tightening a CPU cooler is crucial for optimal performance and preventing hardware damage. Heat transfer efficiency is maximized by achieving the correct tightness, ensuring the CPU operates within safe temperature limits.
1. The Purpose of Tightening a CPU Cooler
The primary purpose of tightening a CPU cooler is to establish sufficient contact between the cooler’s baseplate and the CPU’s integrated heat spreader (IHS). This contact allows heat transfer from the CPU to the cooler, facilitating heat dissipation from the processor.
2. The Effect of Improperly Tightened CPU Cooler
If a CPU cooler is improperly tightened, several negative consequences can occur. Insufficient tightening may result in poor contact between the CPU and the cooler, reducing heat transfer efficiency and higher CPU temperatures. Conversely, over-tightening can cause excessive pressure on the CPU socket, potentially damaging the motherboard or CPU.
3. Guidelines for Properly Tightening a CPU Cooler
To ensure the CPU cooler is properly tightened, follow these guidelines:
- Refer to Manufacturer Recommendations: Manufacturers often provide specific instructions regarding the tightening procedure and torque specifications. Adhering to these guidelines is essential for optimal performance and avoiding damage.
- Use a Torque Wrench: Utilize a torque wrench to apply the correct amount of force when tightening the cooler. This helps prevent over-tightening, which can lead to damage while ensuring sufficient pressure for effective heat transfer.
- Apply Thermal Paste Properly: Before installing the CPU cooler, apply thermal paste evenly to the CPU’s surface. This helps fill microscopic gaps between the CPU and cooler, enhancing thermal conductivity.
- Employ a Cross-Pattern Tightening Method: When tightening the cooler’s mounting screws or brackets, use a cross-pattern sequence. This ensures uniform pressure distribution across the CPU’s surface, minimizing the risk of uneven contact.
Read: Do CPU Coolers Come With Thermal Paste – A Complete Guide
4. Considerations for Different CPU Cooler Types
Different types of CPU coolers, such as air coolers, all-in-one liquid coolers, and custom water cooling loops, may require slightly different tightening procedures. Here are some considerations for each type:
1. Air Coolers
Air coolers typically use mounting brackets or screws to secure them to the CPU socket. Follow the manufacturer’s instructions for tightening these components, ensuring they are snug but not overly tight.
2. All-in-One Liquid Coolers
All-in-one liquid coolers consist of a radiator, pump, and CPU block connected by hoses. When installing these coolers, ensure the CPU block is firmly attached to the CPU socket, taking care not to overtighten the mounting screws.
3. Custom Water Cooling Loops
Custom water cooling loops involve assembling various components, such as a pump, reservoir, radiator, and water blocks. When tightening water blocks onto the CPU, follow the manufacturer’s guidelines and use a torque wrench to achieve the recommended pressure.
When to Adjust CPU Cooler Tightness?

Adjust CPU cooler tightness when experiencing high temperatures or instability. If temperatures are too high, tightening may be necessary to improve heat transfer. Conversely, loosening the cooler might alleviate pressure on the CPU if instability occurs.
Read: What Is VDDCR CPU Voltage? – Optimize CPU Voltage Settings!
How to Achieve the Perfect Tightness
To achieve the perfect tightness for your CPU cooler, follow these steps:
- Refer to manufacturer guidelines for recommended torque settings.
- Use a torque wrench to apply consistent pressure.
- Tighten screws in a cross pattern to ensure even distribution.
- Monitor temperatures during stress testing to verify optimal performance.
Does CPU Cooler Tightness Matter?
Yes, CPU cooler tightness matters significantly. Proper tightness ensures efficient heat transfer from the CPU to the cooler, preventing overheating and maintaining system stability. Incorrect tightness can lead to inadequate cooling or even damage to components.
Factors Influencing Tightness

Several factors influence CPU cooler tightness:
- Manufacturer Recommendations: Follow specific torque settings provided by the CPU cooler manufacturer.
- Thermal Paste Application: Ensure even distribution for optimal heat transfer.
- Mounting Mechanism: Different coolers may require varied tightening methods.
- CPU Socket Type: Socket design affects how tightly the cooler attaches.
- Cooling System Type: Liquid and air coolers may have different tightening requirements.
Potential Issues with Over-Tightening
Over-tightening CPU coolers can lead to motherboard damage, CPU socket deformation, and uneven thermal paste distribution, reducing cooling efficiency and potential hardware failures.
Installation Steps for Optimal Tightness
- Prepare Your Tools:
Gather the tools you need, like a screwdriver, to make the installation easier.
- Read the Manual:
Take a moment to read the manual that came with your CPU cooler. It has important instructions.
- Apply Thermal Paste:
Add a little thermal paste on the CPU. It helps the heat move away.
- Attach the Cooler:
Gently put the CPU cooler on the CPU. Make it safe by following the manual’s directions.
- Tighten Screws Gradually:
Tighten the screws little by little in a diagonal pattern. This makes sure the pressure on the CPU is even.
- Check for even Tightness:
Double-check that all screws are snug but not overly tight. This helps in achieving optimal tightness for effective cooling.
Read: CPU Core Ratio Sync All Cores Or Auto – System Optimization!
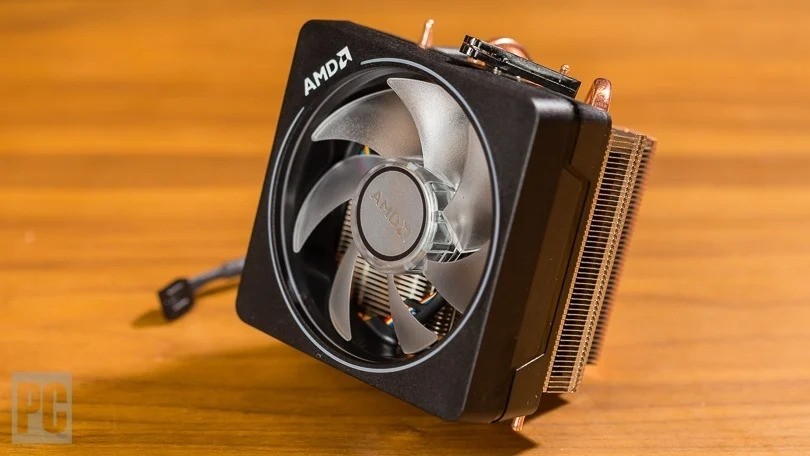
Comparing Air and Liquid CPU Coolers

When deciding on a CPU cooler, understanding the differences between air and liquid cooling can be straightforward. Here’s a simplified comparison to help you decide:
1. Heat Removal:
- Air Coolers: Use fans to cool down the CPU with metal fins.
- Liquid Coolers: Utilize a liquid coolant circulating through a radiator for efficient heat dissipation.
2. Installation Process:
- Air Coolers: Generally easier to install, involving securing a heat sink and fan.
- Liquid Coolers: May require more steps due to additional components like the radiator and pump.
3. Performance Levels:
- Air Coolers: Effective for standard use and moderate overclocking.
- Liquid Coolers: Shine in extreme conditions, offering superior cooling for demanding tasks.
4. Noise Considerations:
- Air Coolers: Typically quieter as they rely on fans.
- Liquid Coolers: Noise levels vary, depending on the quality of the pump and fans.
5. Maintenance Needs:
- Air Coolers: Generally low-maintenance with fewer components.
- Liquid Coolers: May need periodic checks for leaks and pump functionality.
6. Cost Factors:
- Air Coolers: Usually more budget-friendly.
- Liquid Coolers: Tend to be pricier due to additional components.
7. Compatibility Issues:
- Air Coolers: Fit a wide range of cases without much concern.
- Liquid Coolers: Require consideration of radiator size and case compatibility.
By weighing these factors, you can make a smart choice based on your computer use, preferences, and budget. Whether air or liquid, both provide effective cooling solutions to keep your CPU performing optimally.
Read: CPU Ratio Offset When Running AVX – Optimize AVX Efficiency!
Choosing the Right Cooler for Your Setup
Choosing the right cooler for your setup is essential for optimal performance and longevity. Consider factors like CPU compatibility, cooling capacity, noise levels, and budget to make an informed decision.
Optimizing CPU Cooler Tightness for Enhanced Performance
Optimizing CPU cooler tightness is crucial for enhancing performance. Achieve a firm but not excessive tightness following manufacturer guidelines. Periodically check and retighten to maintain efficient heat transfer and system stability.
How tight should I make the CPU cooler?
When installing a CPU cooler, aim for firm but not excessive tightness. Follow manufacturer guidelines or torque specifications to achieve the optimal level of pressure. Avoid over-tightening to prevent damage to components.
CPU Cooler Tightness and Retightening
Ensuring proper CPU cooler tightness is crucial for efficient heat dissipation. Periodic retightening may be necessary due to thermal cycling and vibrations. Check tightness regularly and adjust as needed to maintain optimal performance and system stability.
Read: Can Cinebench Damage CPU – Ultimate Guide – Click Now!
CPU cooler , how tight
When installing a CPU cooler, aim for firm but not excessive tightness. Follow manufacturer guidelines or torque specifications to achieve the optimal level of pressure.
Tight fit for the CPU cooler
Ensure a snug fit for the CPU cooler, avoiding over-tightening. Follow manufacturer guidelines to achieve the correct level of tightness for optimal cooling performance without damaging components.
Cpu cooler too tight?
If the CPU cooler feels excessively tight, loosen it slightly to prevent potential damage to the motherboard or CPU socket. Follow manufacturer guidelines for optimal tightness.
How to Avoid CPU Cooler Screw Risks
To avoid CPU cooler screw risks, use the correct screw size and apply even pressure when tightening. Regularly inspect screws for wear and retighten as needed to maintain proper tension.
Can a super tight CPU cooler mount damage a motherboard?
Yes, over-tightening a CPU cooler mount can potentially damage the motherboard. Excessive pressure may cause the PCB to bend, crack, or damage components, leading to system instability or failure.
Is it possible to over tighten the and stock cooler??
Yes, it is possible to over-tighten the stock cooler just like any other CPU cooler. Excessive force during installation can damage components or deform the CPU socket, leading to potential issues.
Read: What Is CPU Package Temperature – Check CPU Temps In 2024
Related Questions
1. Can a super tight CPU cooler mount damage a motherboard?
Yes, overly tightening a CPU cooler can harm the motherboard by putting excessive pressure on its components. Stick to recommended guidelines to avoid damage while ensuring a secure fit.
2. Is there a universal tightness level for all CPU coolers?
No, each CPU cooler may have specific recommendations from the manufacturer, and factors such as thermal conductivity and socket type play a role.
3. What tools are recommended for achieving the right tightness?
Torque wrenches are commonly recommended to ensure uniform pressure during installation.
4. Can over-tightening damage the CPU?
Yes, over-tightening can stress components and lead to uneven heat distribution, potentially causing long-term damage.
5. Are there any automated tightening features in modern coolers?
Some coolers come with smart mounting solutions and automated tightness adjustment features.
6. How does tightness affect CPU lifespan?
Improper tightness can contribute to heat-related degradation, impacting the overall lifespan and performance of the CPU.
7. Is it important to secure the CPU cooler tightly?
Yes, it’s important to secure the CPU cooler tightly to ensure efficient heat transfer and optimal cooling performance.
8. What is the recommended method to tighten a CPU cooler?
The recommended method to tighten a CPU cooler is to follow manufacturer guidelines or torque specifications provided with the cooler.
9. Are there any signs of a CPU cooler being too loose?
Signs of a CPU cooler being too loose include increased CPU temperatures, system instability, or visible movement of the cooler during operation.
10. Can overtightening the CPU cooler cause damage?
Overtightening the CPU cooler can cause damage to the motherboard, CPU socket, or cooler mounting mechanism, leading to potential hardware issues.
11. How often should I check the tightness of my CPU cooler?
It’s advisable to check the tightness of your CPU cooler periodically, especially after initial installation and whenever maintenance is performed on the system.
Conclusion
Final Words,
The right tightness for your CPU cooler is like a perfect hug, ensuring optimal computer performance. Adjust it when needed, follow installation steps carefully, and consider factors like cooler type and thermal paste quality. Whether you choose air or liquid cooling, prioritize compatibility and ease of installation. Choosing the right cooler contributes to a healthy and long-lasting computer system.
Also Read
- Will My GPU Bottleneck My CPU: Avoid CPU Bottlenecks – 2024
- Is 70c Too Hot For CPU – Understanding CPU Heat In 2024!
- Can I Use 70 Alcohol To Clean CPU: Optimal Cleaning Solution

Hi everyone, Johns Jack here, your approachable tech aficionado! I’m passionate about CPUs and thrive on keeping up with the newest tech developments. Join me as we delve into the dynamic realm of technology! Visit: Techy Impacts